Export Settings
Overview
What settings should I use to export my model?
The most important option for exporting a mesh is whether you want a watertight mesh or not.
We recommend using watertight whenever possible.
It may take longer to export watertight mesh, but it's worth it for 3D printing.
Now, let's walk through the Export process together!
Step 1 : Import
Import your model into MeshUP: File > Open & Import.
Alternatively, the skull used in this example can be imported into MeshUP through clicking on the skull image in File > Model Library > People > Skull.
Click on the model, and in the Properties dialogue click on the icon next to whichever Volume you would like to convert the model to: Envelope, Shell or Volume. The Up dialogue launches with that option preloaded. Click Make It So.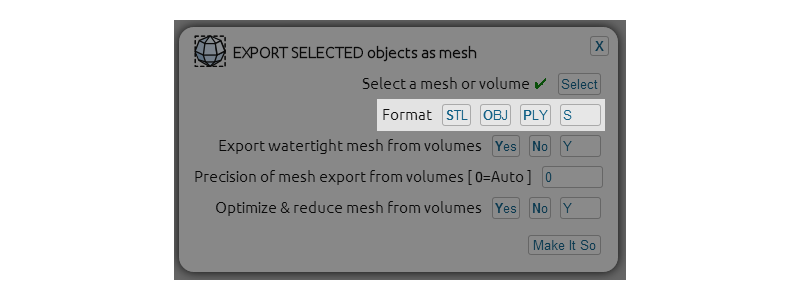
Step 2 : Format
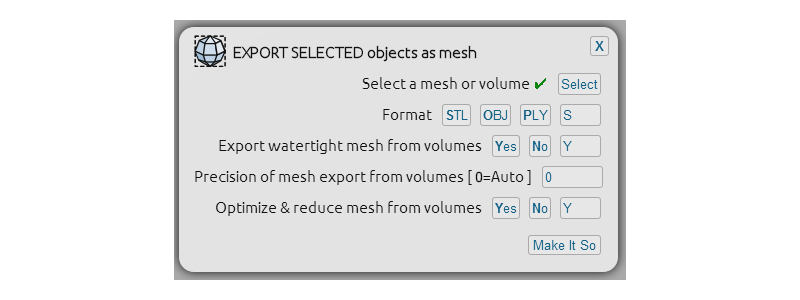
Select the skull and in the File menu, click on Export Selected objects as mesh.
Choose which mesh format to export to: STL, OBJ or PLY.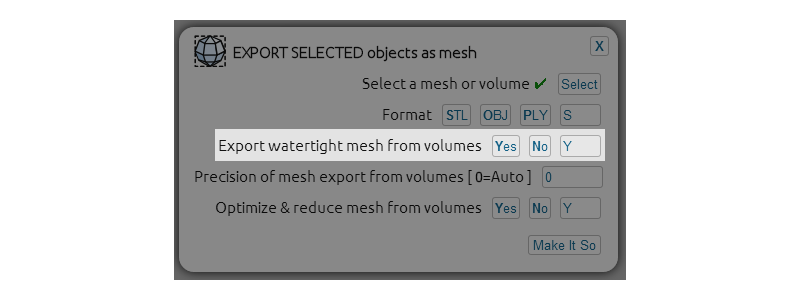
Step 3 : Watertight
- Yes - Watertight is the default Export option for mesh.
- No - Not watertight is faster, but of course the drawback is the export will not be watertight. The software that comes with 3D printers can sometimes repair certain types of defects, but the results and options vary from printer to printer.
We suggest using the watertight option whenever possible for 3D printing. Even if it takes time to Export, receiving a watertight mesh on the other side is worth the wait!
The Export window will often load instantly. It can take longer, depending on the number, size, and complexity of the models.
Check out the recommended System Requirements for your machine if things like Export or Blend are taking a long time.
Why do I sometimes see missing triangles?
If you are seeing what look like invisible triangles after intensive geometric changes to an object's surface, don't worry, these are not holes. All actual holes in MeshUP are labelled with a tag.- Check out Known Issues to learn more about why the rendering visualization behaves like this, and our plans to upgrade to a better visualization system.

Step 4 : Precision
This number is automatically calculated. However for advanced users, it is possible to enter a number which represents the smallest edge you want to capture. In some cases, this could be the practical resolution of the targeted 3D printer.
When in doubt, leave it set to 0 (auto).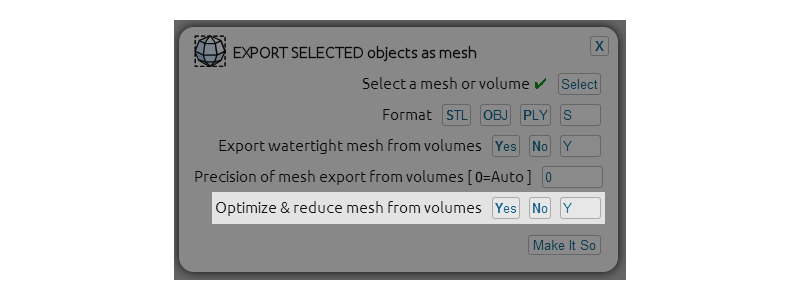
Step 5 : Decimate
It is recommended to keep this set to Yes.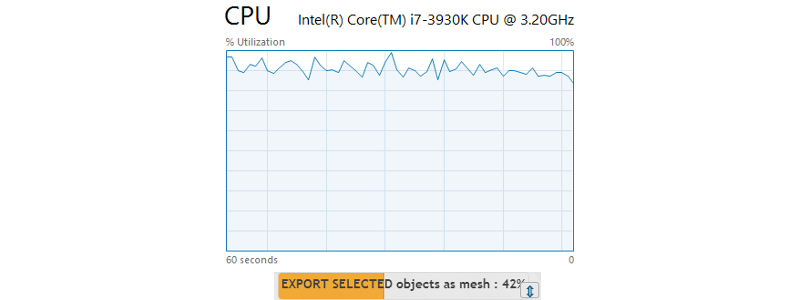
Step 6 : Processing
Keep an eye on the progress bar in the lower right corner for a sense of timing. The skull will take 2-5 minutes to process depending on the computer.
Note that MeshUP is taking full advantage of your CPU(s).
A dialogue window will launch when the process is complete, where you can name your mesh and choose the location for saving.
Step 7 : Watertight - worth the wait!
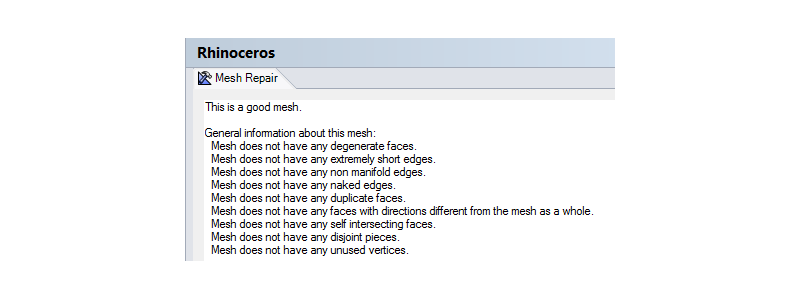
Rhino and Netfabb report the exported mesh as watertight.
Congratulations! Now you have a file you can take to any 3D printer with confidence.