Blend Volumes
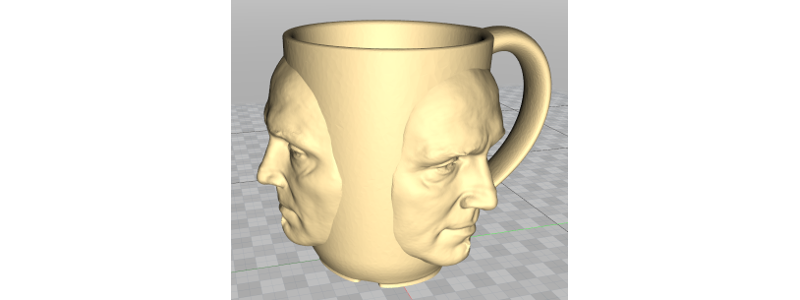
What is blend?
Blend is an operation that can make objects look as if they were sculpted together in a truly organic way.
Blend can be an expensive operation. Depending on the computer and Amount of Blend, it can take several minutes to complete. The higher the value and the more you compound blended objects, the longer it will take a blend to process (and later export). You may have to wait a few minutes, but the results are stunning!
Step 1 : Open Cup & Viking models
In the File menu click on the icon Open Library and open the Cup and Viking models.
These models are pre-aligned so the Viking face is aligned to the front of the Cup.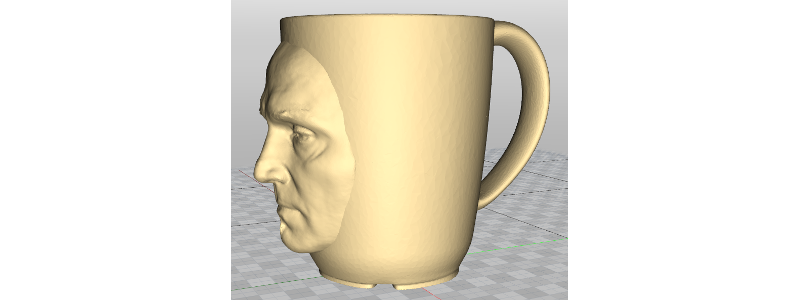
Step 2 : Volumize
Type A to select the Viking and Cup. Click on the icon next to Volume in the Properties dialogue. The Up dialogue launches with that option preloaded. Click Make It So.
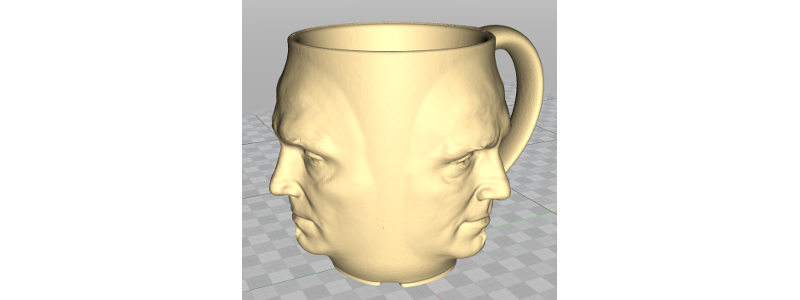
Step 3 : Array 3 Faces Around Cup
Select the Viking, in the Replicate menu click on the Ring icon.
Leave the center point at 0,0,0; enter 3 for copies; enter 360 for Angle. Click Make It So.
Step 4 : Join the 3 Faces
Using shift and left click, select the 3 Viking faces.
In the Volume menu click on the Join icon. Click Make It So.
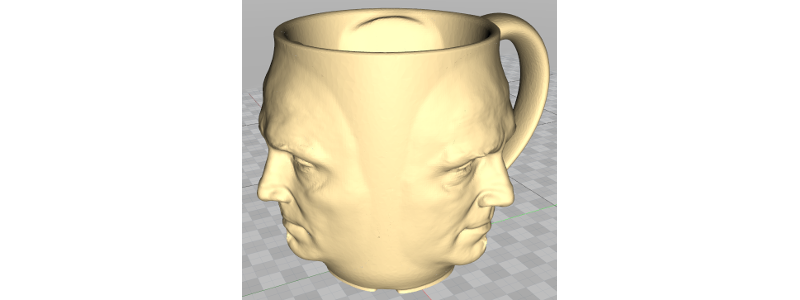
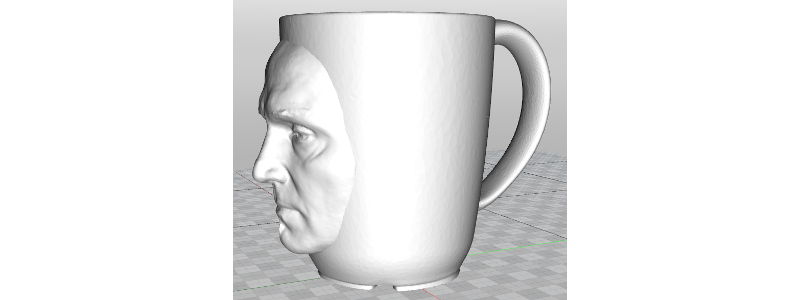
Step 5 : Blend the 3 Faces to the Cup
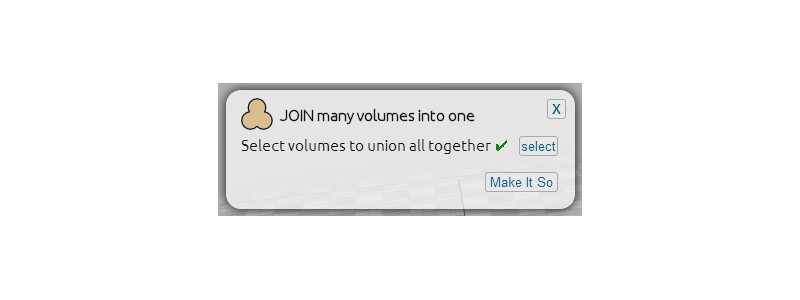
Select the joined Vikings, then in the Volume menu click on the Blend icon. This is now your selection for Select the first set of volumes. There will be a green checkmark by this line.
Click on the Select button next to Select the second set of volumes (it will turn blue), then select the Cup. A green checkmark will appear next to this line.
Enter 5 for the Amount of blend. Click Make It So.
Remember blend can take a few minutes to process. Depending on the computer and the amount of the blend, it can take several minutes to complete. Pay attention to the bottom right progress bar for a status update. The results are worth the wait!
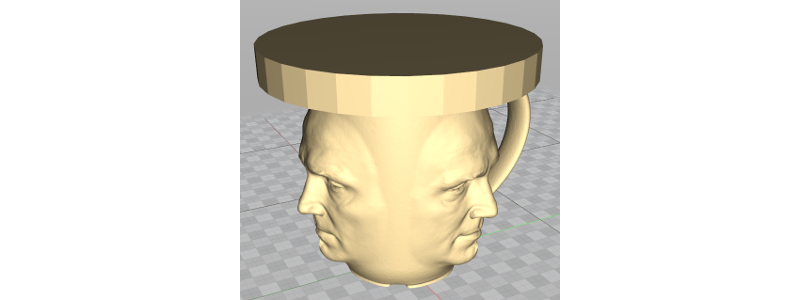
Step 6 : Remove Back of Vikings from Inside the Cup
In the File menu click on the icon Open Library and open the Cup Inside Fill models.
These models are pre-aligned so the Cup Inside fits perfectly inside the Cup.
Select the Cup Inside, then click on the icon next to Volume in the Properties dialogue. The Up dialogue launches with that option preloaded. Click Make It So.
Select the Cup, then in the Volume menu click on Subtract icon. This is now your selection for Select the base volumes. There will be a green checkmark by this line.
Click on the Select button next to Select volumes to subtract (it will turn blue), then select the Cup Inside model. A green checkmark will appear next to this line. Keep the Amount of blend at 0. Click Make It So.
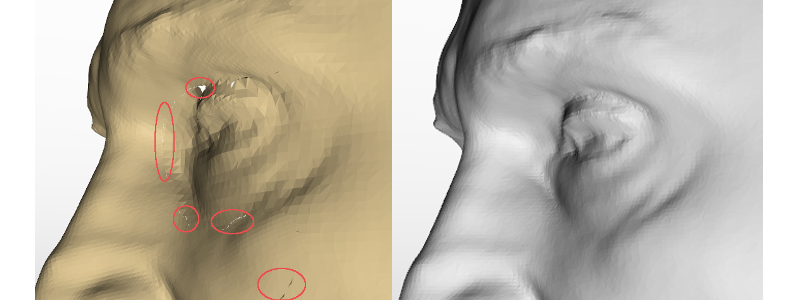
Visualization Errors
If you have not already read the section about Known Issues, you might be surprised to see some defects and what appears to be small holes after subtracting the Cup Inside.
These issues are related to our method for fast visualization. We are working on a fix for this, but for now rest assured that this is a visualization error only. If you export this model as a watertight mesh, you will in fact see that this is a beautifully blended model!